![]()
![]()
![]()
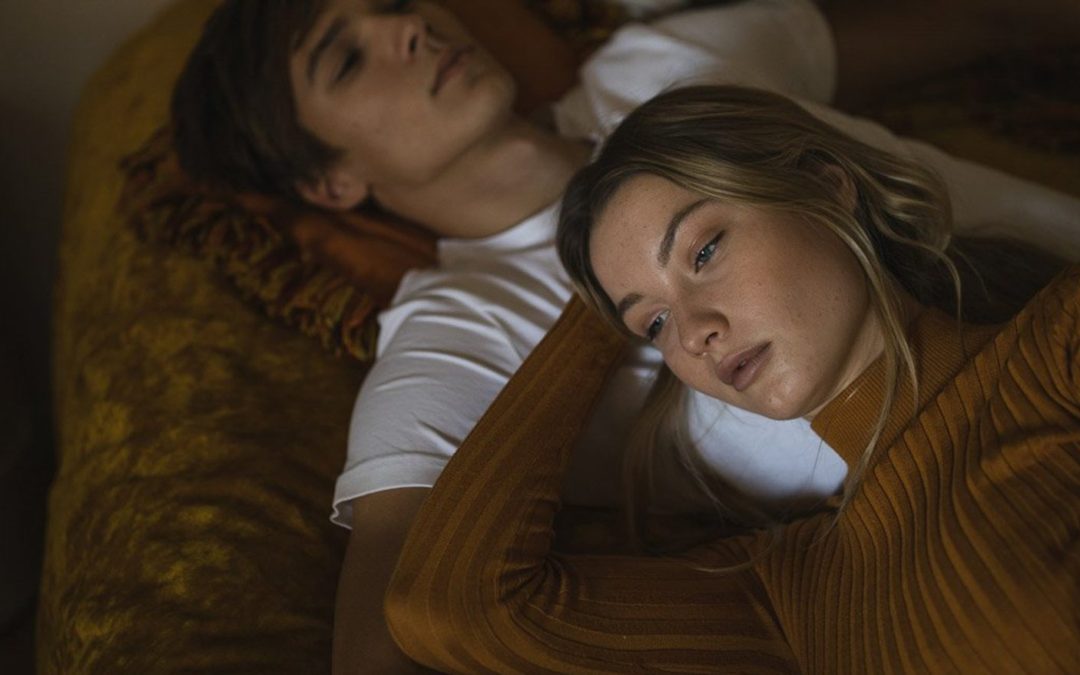
Photographers Rachel and Daniel of Mango Street have released a 5-part video tutorial series that teaches how to plan a shoot, find a suitable location, secure the ideal model, conduct the shoot, and edit the results.
The shoot was conducted using a Canon 5D Mark IV and a Hasselblad x1D. Thoughts on the latter are found in the final video in this series.
Part 1. Conceptualizing a Shoot
In this video, learn how to create a mood-board that will guide you through the entire shoot process, keeping you on track. For example, with the shoot being inspired by the French vintage style in the movie Amelie, images from Google of these specific styles were used to inform the stylist via the mood board.
Part 2. Finding a Location
With a $300 budget for finding a location, adapting and compromising was definitely on the cards. The photographers look at both the color and texture of a shoot location, as well as the light and interactivity of the area.
“Your location can contribute immensely to the overall mood of your photos,” says Rachel. “It should be intentional when you choose it.”
The team recommend sometimes using websites Peerspace or AirBNB for finding and renting suitable locations.
Part 3. Finding a Model
“One of the best and easiest ways to get your team together is by asking professionals in your industry for recommendations,” says Rachel.
Using Instagram is also a good way to find models, but another app called Artstel can be good for finding the right person who fits the shoot. You can also look to use agencies and Facebook groups for those looking to get a break in the industry.
Part 4. Conducting the Photoshoot
In this episode, take a front seat during the shoot and see exactly how Daniel and Rachel conduct themselves and direct the models.
Part 5. Cinematic Photo Editing (and Gear Thoughts)
Using the Hasselblad X1D camera, which costs around $11,700 with the lens, the team were “not used to the medium-format workflow.” Despite that, the 16-bit color depth, 14 stops of dynamic range, and 50-megapixel sensor impressed the photographers.
Interestingly, Daniel spends some time in the Camera Calibration window of Lightroom, ensuring that the colors are exactly what he is looking for from the start. With some very fine-tuned adjustments to the Tone Curve, as well as other more “traditional” sliders in Lightroom, the shot is coming alive.
Don’t be afraid to try different crops, too. At first, Daniel tries out the 12:5 aspect ratio for a more cinematic look. However, he settles on 16:9 in the end.
The Results
Finally, check out some of the images produced during this shoot:
![]()
![]()
![]()
![]()
![]()
![]()
![]()
![]()
![]()
![]()
![]()


