In music they say the spaces between the notes are just as important as the notes themselves. Similarly in photography, it can be the spaces that are not in the light that add impact to an image.


If it were not for the shadow cast by the dirt bike, it might be difficult to tell it was off the ground.
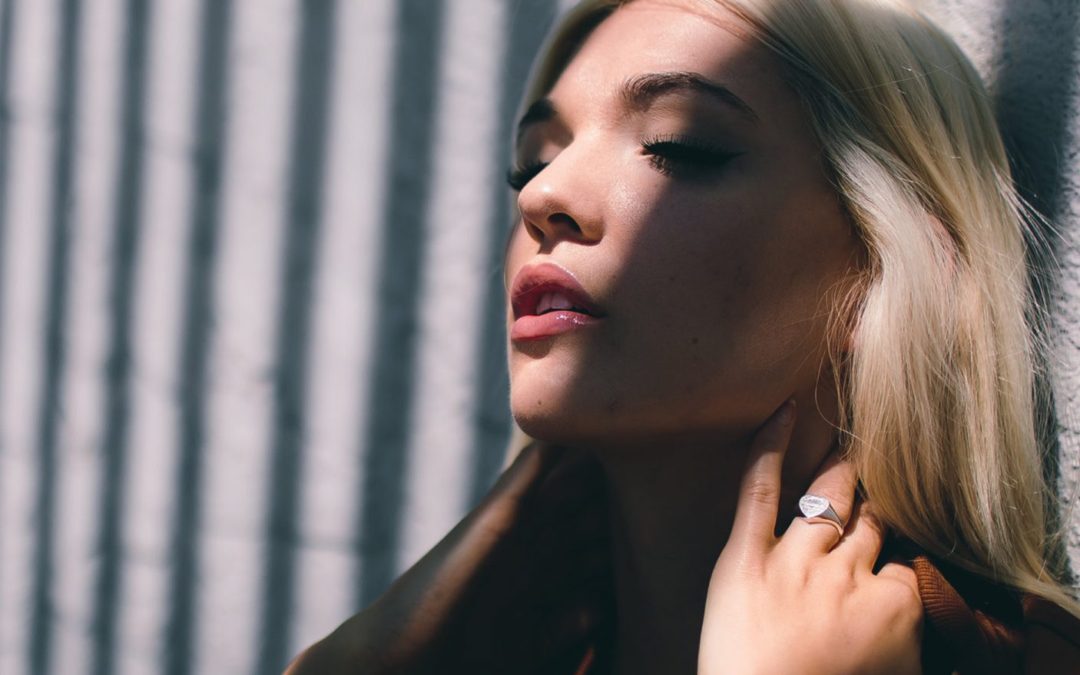
Shadows help tell a story and enhance the mood and visual power of a photograph. In fact, they can be so interesting, that they “overshadow” the subject itself!
By focussing your attention on the shadows, you can create beautiful compositions full of contrast, form, and minimalist simplicity. An object and its shadow will strengthen each other. Sometimes you might even want to cut the object out entirely, and play with capturing only the interesting shadows that are cast by it.


In this image of a small plant, it is really the shadow that is the main subject for the image would have very little interest without it.
Photographing shadows works best with strong, simple shapes that make interesting graphic designs such as flowers, sharp lines, or even human beings. After all, who hasn’t taken a picture of their own shadow as it stretches out across the sidewalk in front of them?
You can use shadows compositionally the same way you would use any other element in the scene: as leading lines, patterns, curves that guide the eye into the scene or to create a balance of negative and positive space.


Exposing for the Shadows
If you put your camera on an automatic mode (even aperture or shutter priority mode) and try to photograph a shadow, it’ll probably come out too light. This is, after all, what cameras are designed to do – expose with enough brightness to see detail. Of course, this isn’t always what we want, and shadows are a prime example of when you need to manually change your exposure to make sure the shadow remains in darkness.
There are a few ways that this can be done:
- Set your camera to manual mode. This is for advanced photographers. On manual mode, you’re responsible for setting your aperture, shutter speed, and ISO value. If you’re not sure what settings to use, you can copy them from the values on your auto setting and then tweak them as you go.
- Use EV compensation. If you take a shot and see on the LCD screen that it is too bright, you can simply locate the camera’s EV (exposure value) compensation button. Almost every camera will have one, even point-and-shoots and camera phones; it is denoted by a square with a (+/-) symbol. Using that, you can simply turn the exposure up or down to be brighter or darker, as you see fit, and if you’re using live view it will probably render directly in the display. If the shadows come up too bright, just lower the exposure compensation a little to deepen them.


- Lock down your exposure. If you have a DSLR, it probably has an exposure lock feature, though it may need to be configured in the camera’s menu. Using exposure lock, you can fill your frame with the part of your scene that’s not in shadow – or else some well-lit mid-tone – and let your automatic exposure calculate for that. Then you lock it in by pressing the AE-L (auto-exposure lock) button on your camera. This will freeze the settings as they are, so you can recompose the image to include the shadow and the camera won’t re-calculate and brighten the exposure to account for them. This way, you’ll get perfectly exposed highlights and deep shadows. Alternatively, you can simply note the settings, dial them in to manual mode, and bypass the exposure lock altogether.
- Bracket your shot. When you bracket your image, you take several shots at different exposures. Mid-range cameras and higher will have this feature built in – it might feature a dedicated BKT button, or the option might be available in the menu. If so, you’ll be able to select how many pictures to take and how many stops of difference between them. This makes it simple to take three exposures, for example, one with the exposure the camera thinks is correct, one underexposed by one stop and one overexposed by one stop. If this feature is not available, it can be achieved through changing the settings in manual mode, or by taking several shots with different EV compensations.


Next time you’re out shooting, make a point of noticing the shapes of the shadows. Challenge yourself to actively use them to create mood, to add dimension to your subject, or to take center stage in a creatively crafted composition.


