We come across many famous debates on a daily basis. Pepsi vs Coke. Mac vs PC. iPhone vs Android. Canon vs Nikon. There’s one more debate in the photography post-processing world that hasn’t yet been settled. DNG vs RAW. Should you convert to DNG? Or should you just work with the camera’s native RAW format? This is an important decision that you need to take in order to streamline your photography workflow.
What is DNG?
Let’s begin with understanding what exactly the DNG format is. DNG stands for “Digital Negative”. It is a file format devised by Adobe to store image data in a generic, compatible format. In contrast to this, is the RAW format, which is specific to the manufacturer and the camera model. The DNG format was introduced in response to the growing number of undocumented raw camera file formats that are created every time a new digital camera comes out. Adobe wanted to blend them all by creating its own open-source DNG format.
Here’s Why You Shouldn’t Convert to DNG
While Adobe claims to have many benefits of the DNG file, but many pro photographers don’t buy it. The many professionals I know, also do not convert to DNG and here’s why.
1. Your Workflow becomes Slow!
I mean, that’s why we’re all here, right? To learn how to speed up our workflow. So, why add another time-consuming step to it?
Lightroom does make it easy to convert your photos to DNG while you’re importing your photos, but it takes up a lot of time to do it. So, if your camera doesn’t natively create DNG files, this means that you have to go through an extra step; and a time-consuming one at that. You can convert to DNG either at import, or later; once they are in Lightroom. But in either case, converting to DNG also takes up a great amount of CPU power. If your RAW files are large, the time consumed can also be quite a bit. The time might not be that bothersome for a few photos, but if you have thousands of photos in a shoot, you might just go grab dinner or run an errand before you can see the process completed.
2. The Myth of Saving Hard Drive Space
One of the reasons that the advocates of the DNG give for their love of it, is saving hard disk space. The process of DNG conversion allows a lot of control over the process of converting the RAW files. Due to that, it does offer a reduced file size when compared to an uncompressed RAW file. This happens due to the DNG converting the uncompressed RAW file into a losslessly-compressed RAW file. If you want to save even more space, you can decide to generate smaller JPEG previews i.e. the preview that’d be embedded into the DNG, which will result in even smaller file sizes.
But why are we saying that all that is a myth when it actually does reduce file size? Well, why should you shoot uncompressed RAW in the first place? Simply shoot a losslessly-compressed RAW file straight out of the camera. When you’re doing that, the DNG will not be significantly different than the native RAW file.
When I tried it out with my Nikon D610, the reduction offered by converting to DNG was not more than 15%. As you can see in the screenshot below, the original RAW file from my camera (losslessly-compressed RAW) is 20.5MB and the DNG is 17MB.


Given the amount of time it takes to convert that many files to DNG and the other downsides of the format, this 15% reduction in file size is not something that would make me want to jump over the DNG side.
3. The Future-Proof Myth
The DNG fan club asserts that the DNG format is the format of the future: that this format gets rid of all the other RAW formats and simplifies things by bringing them into a single, open-source format. Not only that, but we also hear, “Your older RAW files will become unreadable in the future”. But, these ideas don’t have much merit in them. It doesn’t happen that one fine day, the photo-editing software would just drop support for a particular camera model. In fact, they’re known to add support for newer cameras instead of dropping it. It’s not like the programming required to read files from older cameras takes up too much space that you would want to get rid of the older ones to make space for the newer ones.
So, It is not understandable that a software company would stop doing something that it is known for doing well. And well, even if one of them does, there are others waiting in line to take its place. If all else fails, the camera manufacturer’s own software should be there to help you out. Even if it does happen, it won’t be like all the older software would just stop existing. If we do hear news about Lightroom losing support for older cameras, we can choose not to upgrade until we have converted all our older files to DNG. All in all, I wouldn’t worry too much about future-compatibility.
4. Backup at a Snail’s Pace
If you’ve worked with RAW files in Adobe Camera Raw plugin, you would know that any edits that you make to your photo get stored in a sidecar XMP file. In Lightroom, they get stored in the catalog, but you can still go ahead and write it to an XMP file. However, that is not the case with a DNG. The DNG file holds all the changes within itself.
Now let’s say you use an online backup service to backup your photos. If you are using the DNG format, every time you make an edit to a file, you would need to upload the whole DNG file again. The time for that might not seem too much for one or two photos, but make that a hundred photos and you’re looking at a lot of extra time. But with the proprietary RAW, every time you update the photo, it’s only the smaller sidecar file that would need to update. The result is much faster backups.
5. Incompatibility with Other Software
DNG files work great with Adobe software, but well, they’re the ones who developed the format. However, most other post-processing software doesn’t read DNG, or read it poorly. Many software says they have DNG support, but they simply just treat DNG files as second-class citizens. If you open a converted DNG in any software other than one of Adobe’s, you will face all kinds of different issues like odd colors, slow rendering time, inability to read metadata, among others.
Adobe did its best for other software companies to adopt the DNG. It provided plenty of documentation for other companies to start providing support for it, but the other companies didn’t feel as excited about the DNG format as Adobe did. By converting to DNG, you will be locking yourself to only Adobe software.
6. You Can’t Go Back
If you’ve converted to DNG, and gotten rid of your original RAW, there’s no way to go back to it. You can’t convert it back to the original RAW file. There is an option to embed the original RAW file into the DNG, but that would mean you’re storing two RAW files in one DNG container, i.e. double the file-size. That just defeats the entire purpose of DNG.
But why should you want to keep the original RAW files? Let’s go back to point number 5. In case you decide to switch from Adobe to another software system, the original RAW would be the safer bet than the DNG. There is a high chance that the software that you want to switch to, might not work properly with DNG. The camera manufacturer’s software might not have any support for DNG at all. For these times, you would wish you hadn’t converted to DNG.
Conclusion
So, to DNG or not to DNG? The DNG club sells us their idea by scaring us that we won’t be able to access our RAWs in the future. We’ve seen how those ideas are not what they are presented to be. Given that we all want to speed up our workflows, adding an extra time-consuming step of conversion seems like a big turn-off. That too, at the cost of incompatibility, slow backups and losing our original RAW files. The Verdict: Do not convert!
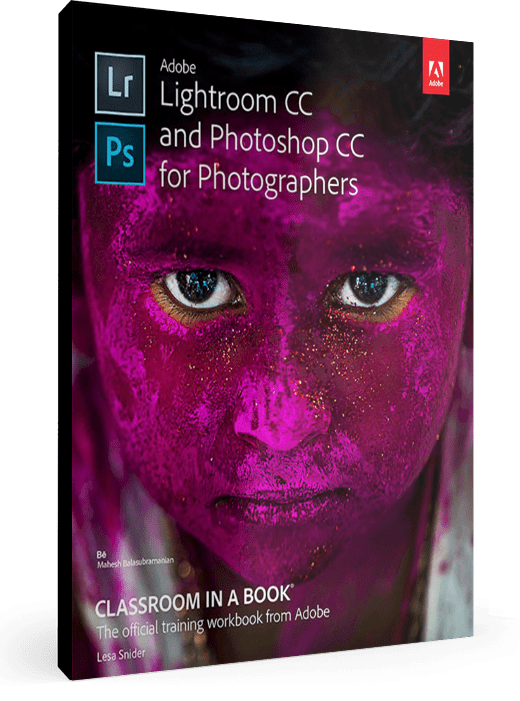
The fastest, easiest, most comprehensive way to learn Adobe Lightroom in conjunction with Adobe Photoshop.
Classroom in a Book®, the best-selling series of hands-on software training workbooks, offers what no other book or training program does–an official training series from Adobe Systems Incorporated, developed with the support of Adobe product experts.
Adobe Lightroom CC and Photoshop CC for Photographers Classroom in a Book contains 9 lessons that cover the basics and beyond, providing countless tips and techniques to help you become more productive with the programs. You can follow the book from start to finish or choose only those lessons that interest you.
Purchasing this book includes valuable online extras. Follow the instructions in the book’s “Getting Started” section to unlock access to:
- Downloadable lesson files you need to work through the projects in the book
- Web Edition containing the complete text of the book, interactive quizzes, videos that walk you through the lessons step by step, and updated material covering new feature releases from Adobe
Using Lightroom CC and Photoshop CC together can dramatically speed your workflow and decrease editing time. This book teaches you exactly when to use each program and how to pass images back and forth between them at the highest possible quality. You’ll learn how to import, organize, correct and add creative color effects in Lightroom using global and local editing tools, as well as how to merge multiple exposures and stitch panoramas. In Photoshop, you’ll learn practical techniques for combining photos, pro-level retouching, creating precise selections, masking, turning a photo into a painting and pencil sketch, and adding creative blur effects. Back in Lightroom, you’ll learn how to show off your masterpieces by exporting them en masse, sharing via social media, creating fine art-style signed print layouts, slideshows, photo book, and web gallery projects.
Header image courtesy of Smart Photography Course, James Bold


