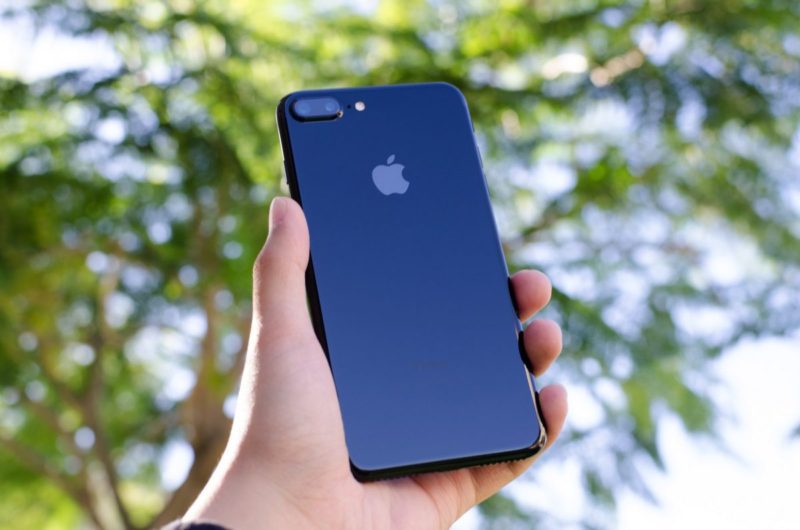
When Tim Cook and the team at Apple announced the release of the iPhone 7 Plus a couple months back, one of the biggest selling points was its gnarly new dual camera setup. We all saw the beautiful portrait-style photos with the creamy, dreamy bokeh, as well as the true-blue optical zoom and all of the other cool new features on the new-and-improved rig.
Understanding Your Lenses

Before we get into how you should best utilize the cameras on the iPhone 7 Plus, it’s important to understand the gear you’re working with. Different lenses offer different strengths and limitations, and the iPhone 7 Plus attempts to cover as much ground as possible.
The phone is lauded for having one of the most technically advanced camera systems on the planet, and its dual lens rear camera module consists of a wide angle 28mm f/1.8 lens and a telephoto 56mm f/2.8 lens. The 28mm wide-angle lens is great for close quarter photography like portraits or basic street photography stuff, and its f/1.8 wide-open aperture is excellent in low-light situations.
Plenty of the world’s best street and portrait photographers actually prefer the width of a good 28mm because of how versatile a perspective it offers. The 56mm telephoto is sizably slower than the 28mm, and only offers f/2.8 – a pretty big difference. Mostly, its function is to support Apple’s 2x optical zoom feature, but also help acquire information for photos taken in portrait mode (which we’ll go into later).
Either way, iPhone 7 Plus users have a lot of nice tools to work with.
Classic Modes

The iPhone 7 Plus comes with the same standard modes we’re all used to – Pano[rama], Square, Photo, Video, Slow-Mo and Time-Lapse. New for the iPhone 7 Plus is Portrait mode, which can be selected from the same menu. None of these modes are really new, save for Portrait mode, which is generally self-explanatory.
In case they’re new to you, though, here’s a basic rundown of each:
Time-Lapse
This video mode is interesting for, like, three things that I can think of: long car rides through the country, videos of the sky and wait, no, I take it back — it’s only good for two.
The video mode takes a full-sized video and speeds it up a lot in order to condense hours-long journeys into mere minutes. The stabilization is pretty smooth and, when done correctly, it yields pretty interesting results.
Slo-Mo
When in camera mode, if you slide your finger left, you’ll go to Slo-Mo mode, which is another video mode that literally just captures slow motion video. Simple enough, yes?
Video
The iPhone 7 Plus doesn’t just cover regular old 1080p HD video at 30 and 60 frames per second, but also offers incredible 4K recording at 30 fps, too. There’s also optical image stabilization and 2X optical zoom, if you know how to use it right.
Photo
Nothing has really changed in the classic Photo mode. You can still enable grid, AF/AE lock by holding down on your focus area, modify exposure to your personal preference, etc.
Square
Everything that Photo is, except at a 1:1 aspect ratio.
Pano
Short for “panorama,” Pano mode can be used to, well, take panoramic photos of things.
Portrait Mode

Ahhh, but then, in the thick of it all, tucked unobtrusively between the Photo and Square modes, is Portrait mode – the iPhone 7 camera’s main attraction.
The idea behind the much-talked-about Portrait mode is to provide people with DSLR-style photos complete with crisp foreground subjects and dreamily blurred backgrounds (known as “bokeh”). The Portrait mode was released in a small software update shortly after the official phone debut and, for the most part, people are pretty stoked about it.
Portrait mode uses information captured from both cameras to create a detailed 3D depth map in order to decide where to sharpen, soften and blur the image. It’s still a little buggy, but that’s expected to change over time.

Like the iPhone’s classic modes, Portrait is pretty intuitive to use. Just open up the camera app, select “Portrait” and compose your photo.
The camera will either tell you to get closer or farther away from your subject (subject should be within at least eight feet of you), and the bokeh/depth of field can be viewed before you even take a shot — which means getting the photo you want is super easy.
Pro tip: if you’re looking to take quality photos and pay close attention to your composition, enable the “Grid” lines: Settings > Photos & Camera > Grid.
Shooting Raw (Kinda)

We mentioned before how the iPhone 7 Plus shoots full 4K video but, not to be outdone, the iPhone 7 can also shoot in full RAW, which really brings the concept of “mobile photography” to a whole new level.
As a general disclaimer, it’s important for everyone reading this to understand that this feature is not exclusive to the iPhone 7 or 7 Plus, but is a general feature with the iOS 10 upgrade. It’s also important to understand that even while the phone is capable of shooting RAW, there’s still not a “native” (i.e. an easy in-phone settings option) way to do this. You’ll need a third party app like ProCamera, Manual, Obscure Camera or any of the others.
Anyway, a lot of photographers prefer RAW photos because they’re essentially a lossless digital negative that retains a lot more tonality and color information than standard JPEGs or other compressed files. The bad part about them, however, is that they’re generally pretty massive and take up a lot of storage.
However, with RAW photos, you can export them into Photoshop, Lightroom or any of your other favorite photo editing software, and render print-quality photos. Like, actual print-quality photos. Coming from an iPhone, that’s a pretty wild concept.
Optical Zoom

Part of the big deal regarding the iPhone 7 Plus’s dual camera setup is that the 56mm lens allows for seamless optical zoom. In reality, it’s not really zooming, but rather switching from the 28mm wider angle primary lens to the 56mm telephoto lens, which is technically called focal optical zoom.
The difference between optical zoom vs. digital zoom is that digital zoom isn’t actually “zooming.” Digital zoom creates the illusion of zoom by isolating and blowing up pixels — which is exactly as disastrous as it sounds. Optical zoom is true zoom that doesn’t rely on blowing up pixels or compromising image quality.
The problem with the iPhone 7 Plus — and what Apple “accidentally” forgot to tell everyone at the reveal — is that, in certain situations, the iPhone 7 Plus will disregard the optical zoom and opt for digital; usually during macro or low light situations. There doesn’t seem to be a way to override the switch to digital zoom so, instead, we’ll just tell you how to use optical.
If you want to ensure that you’ll be using the optical zoom, make sure your subject is relatively well-lit. If the iPhone 7 Plus’s sensor indicates that it’s too dark to adequately expose the photo with the 56mm’s f/2.8 lens, it’ll default to the wider 28mm f/1.8 lens.
Either way, in order to access the 2X optical zoom, you have to open the camera app and then tap the “1x” button at the bottom of the frame. Unfortunately, after it has zoomed, you won’t be able to tell whether it used optical or digital. You’ll have to look at the level of noise and distortion and judge for yourself.